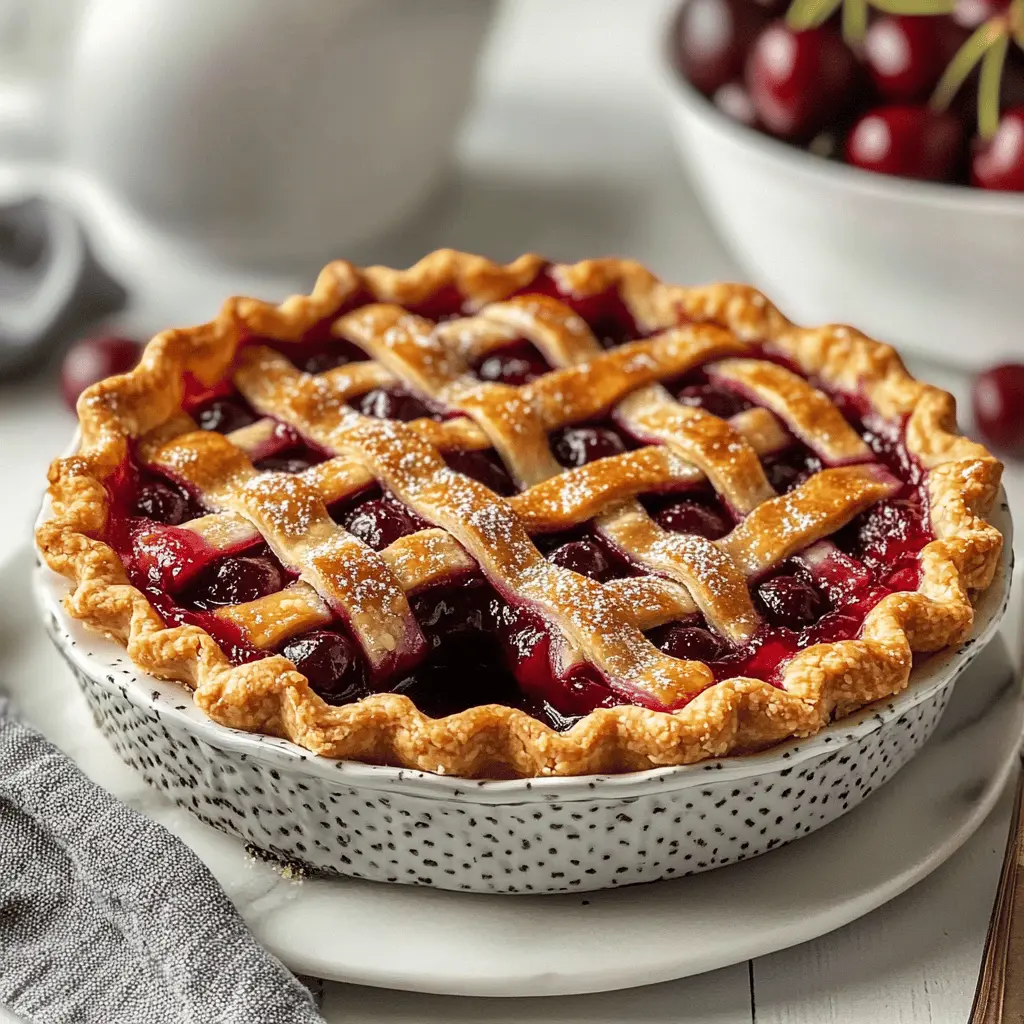
This easy homemade cherry pie is a sweet treat everyone loves! With ripe, juicy cherries and a flaky crust, it’s perfect for any occasion.
Baking this pie is a cinch—just mix the cherries with some sugar, pour it into the crust, and bake until bubbly! I could eat this for breakfast, too. 🍒
Key Ingredients & Substitutions
Cherries: Fresh cherries are the best choice for flavor, but frozen ones work just as well! If using frozen, don’t thaw them before mixing into the filling—just add a bit more cornstarch to balance the extra moisture.
Sugar: Adjust the sugar based on how sweet or tart your cherries are. If you prefer less sugar, you can use alternatives like honey or maple syrup, but this may slightly change the texture of the filling.
Almond Extract: This is optional but adds a lovely depth of flavor. If you don’t have it, vanilla extract can be a nice substitute, or simply skip it—your pie will still be delicious!
Pie Crust: While store-bought crusts are convenient, homemade crusts give a personal touch and taste better! Use your favorite recipe, or try a graham cracker or cookie crust for a fun twist.
What’s the Best Way to Prepare the Pie Crust?
For a flaky and tender pie crust, it’s essential to handle the dough gently. Here are some tips to help you succeed:
- Keep everything cold: Chill the butter and your mixing bowl. Cold butter creates those flaky layers!
- Don’t overmix: Combine the ingredients until just combined. Too much mixing can develop the gluten and make your pie tough.
- Roll it out evenly: Use a lightly floured surface and roll from the center outwards to prevent it from sticking.
- Patch any tears: If the dough cracks while you’re transferring it, simply patch it up with your fingers. It doesn’t have to be perfect!
With these tips and substitutions in mind, you’ll be on your way to making a fantastic cherry pie that everyone will enjoy!
Best Easy Homemade Cherry Pie
Ingredients You’ll Need:
- 4 cups fresh or frozen pitted cherries
- 1 to 1¼ cups granulated sugar (adjust based on tartness of cherries)
- 1/4 cup cornstarch
- 1 tablespoon lemon juice
- 1/2 teaspoon almond extract (optional, for extra flavor)
- 1/4 teaspoon salt
- 1 tablespoon unsalted butter, cut into small pieces
- 1 package (14 ounces) refrigerated pie crusts (or homemade pie crust, enough for top and bottom crust)
How Much Time Will You Need?
This delicious cherry pie will take about 25 minutes to prepare and about 55-60 minutes to bake, plus 2 hours to cool before serving. So, set aside about 3 hours total—perfect for a relaxed afternoon in the kitchen!
Step-by-Step Instructions:
1. Preheat Your Oven:
Start by preheating your oven to 425°F (220°C). This will ensure your pie gets a lovely, golden crust!
2. Prepare the Cherry Filling:
In a large mixing bowl, combine the cherries, sugar, cornstarch, lemon juice, almond extract (if you’re using it), and salt. Mix everything gently until the cherries are well-coated and the sugar is mostly dissolved. This will be your flavorful cherry filling!
3. Prepare the Pie Crust:
Unroll one of your pie crusts and place it neatly into a 9-inch pie pan. Make sure to press it gently into the bottom and sides. You want a snug fit for that lovely cherry filling!
4. Fill the Pie:
Pour all of the prepared cherry mixture into your pie crust. Scatter the small pieces of butter on top of the cherry filling to add a rich flavor.
5. Add the Top Crust:
Now it’s time to cover your cherries! You can either lay the second pie crust whole, making a few slits for steam to escape, or cut it into strips and create a beautiful lattice design. Both look great!
6. Seal the Crusts:
Use a fork or your fingers to gently pinch or press the edges of the crusts together to seal them securely. Trim any excess dough hanging over the edge if needed for a cleaner look.
7. Optional Glaze:
If you’d like a nice golden crust, brush the top with a little milk or beaten egg and sprinkle some sugar on top for added crunch!
8. Bake the Pie:
Place your pie on a baking sheet to catch any drips, then put it in the preheated oven. Bake for 15 minutes to get it started!
9. Lower the Temperature:
After 15 minutes, lower the temperature to 350°F (175°C) and continue baking for an additional 35-40 minutes, or until you see that the crust is golden brown and the cherry filling is bubbling happily.
10. Cool the Pie:
Once baked, remove the pie from the oven and let it cool on a wire rack for at least 2 hours. This step helps the filling set up nicely so it won’t run when you slice it.
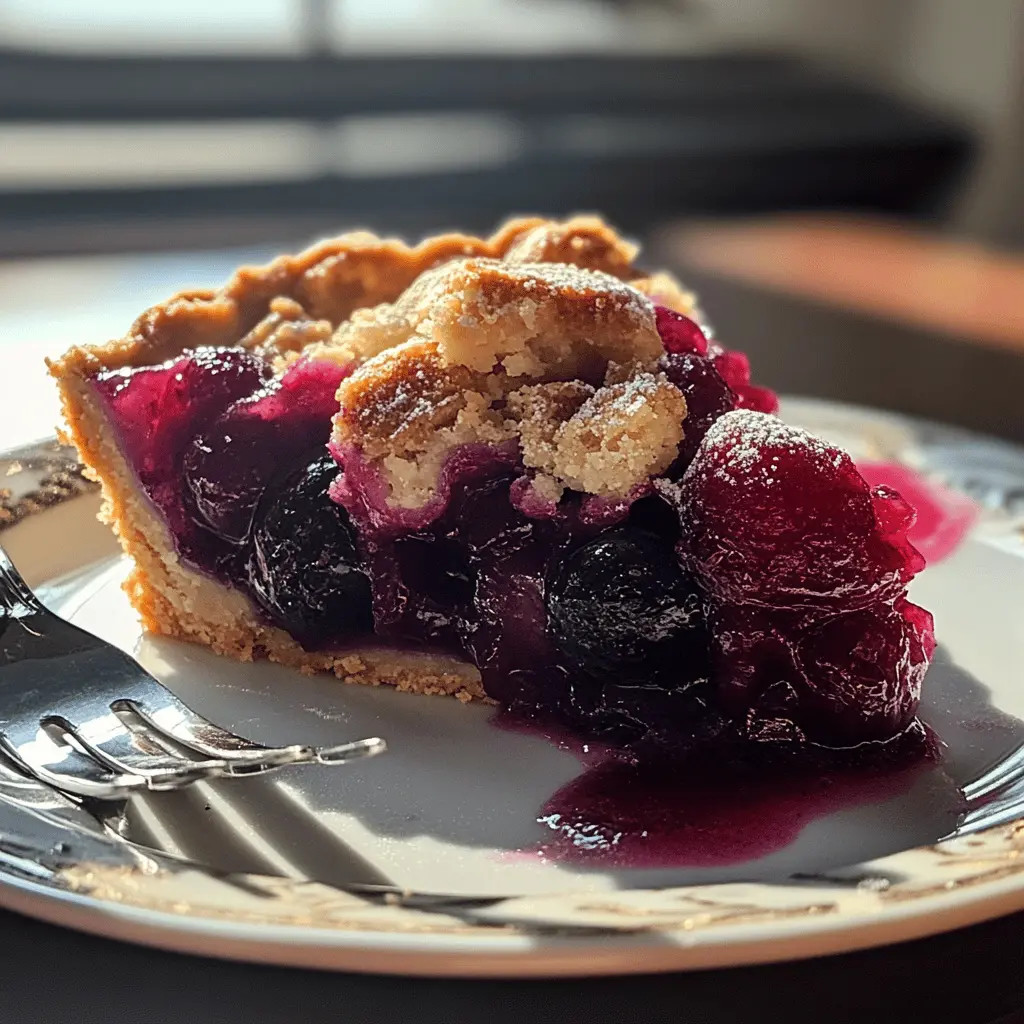
11. Serve and Enjoy:
Slice the pie and serve it warm or at room temperature. A scoop of vanilla ice cream goes perfectly with it! Enjoy your delicious, easy homemade cherry pie!
Frequently Asked Questions (FAQ)
Can I Use Frozen Cherries for This Pie?
Absolutely! Frozen cherries work great for this recipe. Just be sure to add a bit more cornstarch (about an additional tablespoon) to help absorb the extra moisture they release during baking, and use them straight from the freezer without thawing.
How Can I Make a Gluten-Free Cherry Pie?
You can easily make this recipe gluten-free by using a gluten-free pie crust mix or making your own gluten-free crust. Be sure to use certified gluten-free cornstarch for thickening the filling as well!
Can I Make This Pie Ahead of Time?
Yes, you can prepare the pie up to a day in advance! Assemble the pie, cover it well, and refrigerate until you’re ready to bake. Just add a few minutes to the baking time if you’re baking it straight from the fridge.
What’s the Best Way to Store Leftover Cherry Pie?
Store any leftovers in an airtight container in the refrigerator for up to 3 days. To reheat, warm slices in the oven (about 10 minutes at 350°F) or in the microwave for a quick treat!